Project Summary:
Materials Needed:
Repotting your tree is one of the most important things you can do for your bonsai tree. Not only does repotting make the tree more aesthetically pleasing but with the proper soil mix, it can help strengthen the roots of your tree and contribute to the overall health of your tree.
In this article, we’ll review the basic steps in repotting your tree. Elements such as tree positioning and soil mix components will be reviewed in a different article.
- Original Bonsai Tree
- New Pot
- Soil Mix
- Soil Scoop
- 2mm Wire
- Drainage Screens
- Root hook
- Repotting Stick
- Repotting Scythe
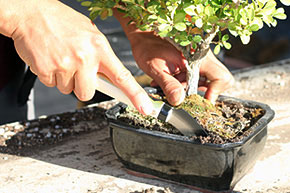
Step 1: Remove your Tree from the Original Pot
Remove your old tree from the original pot by loosening the soil on the edges of the pot. Use a repotting scythe if needed to cut away old roots attached to the side of the pot. If your previous tree was tied to the pot with wire, cut the old wire off.
Separate the tree from the pot and set aside the old pot. At this point, your tree should have a solid root ball around the roots.
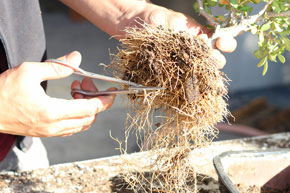
Step 2: Remove Old Soil and Trim Roots
Slowly remove the soil from the root ball with a root hook working from underneath the tree outwards as well as around the sides. The amount of old soil you remove from the root ball is dependent on the quality of the old soil. Typically, you’ll want to remove 60-70% of the old soil.
After removing the old soil, carefully trim off old or rotten feeder and hair roots. Doing this will help the tree develop new stronger roots in the new soil. Certain species of trees don’t like to have their tap root cut so only do so if you are certain it will work with your species.
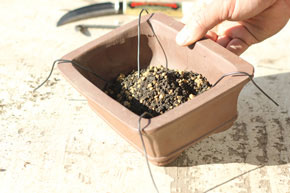
Step 3: Prepare your New Pot
Pour a layer of soil mix along the bottom of the pot. After the base layer is set, form a little hill in the center of the pot where the tree will be set upon.
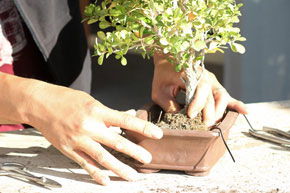
Step 4: Place and Secure your Tree
Place the tree into the pot. While firmly holding the pot, twist and maneuver the tree’s roots into the hill. At this point, secure the roots with wire to stabilize the tree.
Check your tree’s position and tighten further when the tree is in its desired position
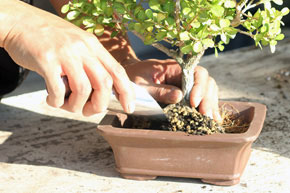
Step 5: Add Remaining Soil Mix
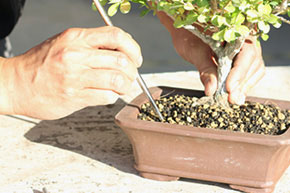
Step 6: Check for Air Pockets
This is one of the most important steps in repotting your tree. Make sure that you do not have air pockets in your soil. Air pockets around the roots will dry out the roots and may cause your tree to die.
With a repotting chopstick, maneuver the soil underneath and in between the roots. Fill in all the holes around your roots. When all air pockets are filled in, the tree will feel much more stable in the pot.
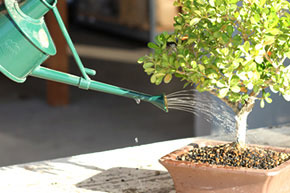
Step 7: Water Thoroughly


Finished the Project?
We also have giveaways on maintenance and styling supplies regularly on Twitter, Instagram, and Facebook.


You must be logged in to post a comment.