Project Summary:
Materials Needed:
One of the most unique characteristics on a bonsai tree is its movement. This refers to the bends, curves, and twists present in the bonsai’s tree’s trunk. When working with your own tree, sometimes the easiest way to achieve movement is to create it on your own using wire. This tutorial will review how to bend a young bonsai tree’s trunk with wire.
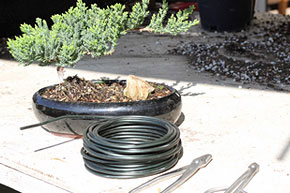
Step 1: Prepare your Tree
Preparing your tree for bending will make the job much easier and have a higher success rate. Let your tree dry out for a day. A tree that is freshly watered will snap easily when bending. By letting it dry out, the trunk will be more flexible making it less likely to break.
If you want to try an experiment, try soaking a celery in water and then bending it, try it again once it’s been left out for a while.
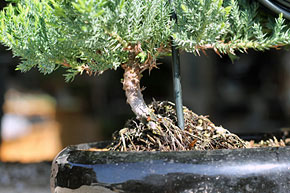
Step 2: Determine Appropriate Wire Size

Step 3: Establish the Wire Base

Step 4: Apply Wire to the Trunk
Continue applying wire at a 45 degree angle along the trunk upwards until you reach the end of the trunk at the apex. The 45 degree angle is the key to helping you bend the trunk.
Once you’ve reached close to the apex, you can stop wiring when the trunk starts to taper where it’s younger. Cut off any excess wire.
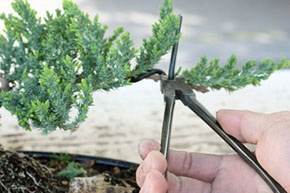
Step 5: Cut Excess Wire

Step 6: Create Movement in the Trunk
Lock your wrists, and use your forearms to bend the trunk and create movement. We recommend creating tighter and closer bends as you get closer to the apex.
When working with a thicker trunk, you can also use Jin Pliers. With this more advanced technique you can bend thicker trunk by using two pliers in place of your hands.

Step 7: Wait for the Trunk to Set


Finished the Project?
We also have giveaways on maintenance and styling supplies regularly on Twitter, Instagram, and Facebook.


You must be logged in to post a comment.