Project Summary:
Materials Needed:
In this project we’ll cover how to properly wire two primary branches on a Juniper Procumbens Nana bonsai tree. Juniper Procumbens Nana branches are extremely flexible and serve as great material for learning how to wire. Secondary branches and extremely thick branches require different techniques. However this tutorial will cover wiring your most basic and common branches.
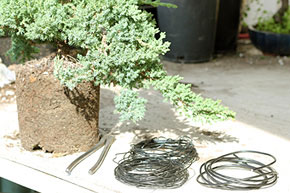
Step 1: Prepare your Tree and Materials
Prepare your tree by letting it dry out a day. Freshly watered trees become more brittle and are more likely to break when bending.
Set aside various sizes of wire as well as wire cutters next to your tree. It will make it easier to choose the correct size wire with it next to the branch.
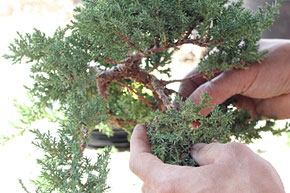
Step 2: Cleaning Your Tree
Remove the inside needles on your branch as well as the needles that are going down by pinching them off or cutting them with a shear.
The misconception is that you want needles all the way inside the branch where it’s closest to the trunk. This is incorrect. You’ll want to clean these needles in order to view the structure of your tree. Removing them will also make the branch easier to wire.
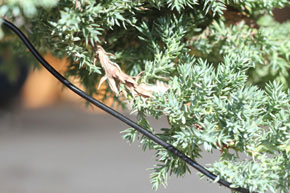
Step 3: Identify the Two Branches and Wire Size
Identify the two branches that you want to wire. When wiring, one wire is typically used to hold two branches. This gives stability to the branches as they are anchored to each other. Another misconception is that you only use one wire for each branch.
Choose the wire size according to the diameter of the branch. You’ll want to go with a wire that’s 1/3 the size of the branch.
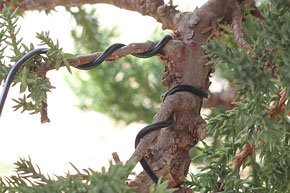
Step 4: Anchor Wire to the Trunk
Cut a length of wire that will be long enough to cover both branches you want to wire. At the center point of the wire, anchor the wire by wrapping it around the trunk. Secure it to each branch by applying the wire over each of them at a 45 degree angle.
Once the wire is anchored firmly, you can proceed to wire the entire the branch.
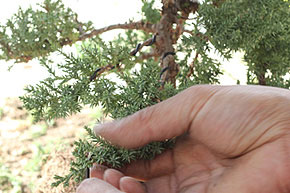
Step 5: Apply Wire to the Branch
While holding the wire with one hand, bring the branch into the position that you want it. Wire the branch at a 45 degree angle while the branch is in this position, typically downward. By bringing the branch into its desired position while wiring, the wire will hold it more securely.
Repeat with each branch.
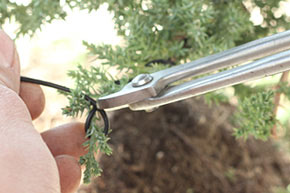
Step 6: Cut Excess Wire
At the end of the branch, close the wire by leaving the last end pointing up. This will prevent the branch from slipping off the wire easily.
Cut off any excess wire.
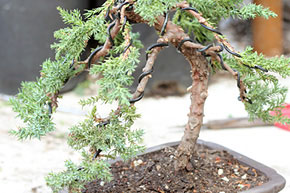
Step 7: Additional Bending


Finished the Project?
We also have giveaways on maintenance and styling supplies regularly on Twitter, Instagram, and Facebook.


You must be logged in to post a comment.